FOR THIS BUILD YOU MAY NEED THE BASIC TOOLS:
Miter saw
Table Saw
Kreg Pocket Hole Jig
Nail gun
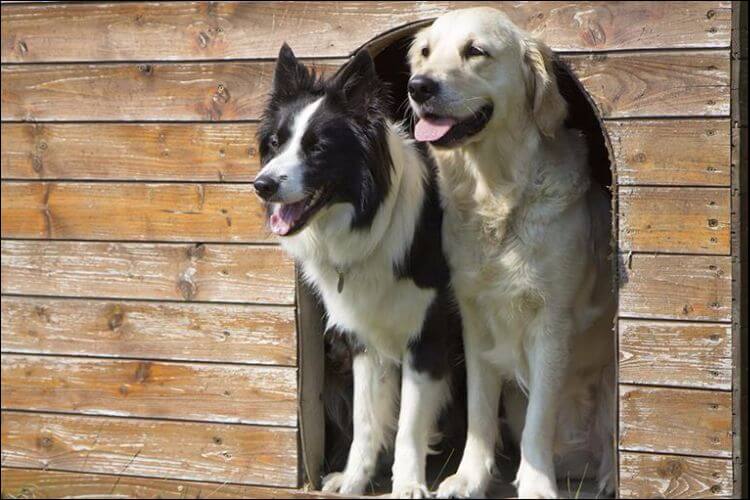
It’s not for nothing they say a dog is a man’s best friend. But like any other friend, they need a house of their own. It helps them stay dry and warm while also keeping your own home fur-free, for example. That’s why today we are going to learn how to build a dog house. Even though it may sound complicated, if you follow these steps you will end up with a cozy home for your little (or big) friend.
How to Build a Dog House for Your Best Friend
Building the Base
1. Plan the Dimensions of the Base
You can’t learn how to build a dog house correctly if you don’t choose the right base. Naturally, each dog has different needs. Regardless of your or his personal preferences, there are two things you need to pay attention to, insulation and humidity. The house you build needs to be insulated and to offer your dog a dry space. The base is particularly important since it leaves a space of air between the floor and the ground, which is basically what insulates the house. Remember that if you don’t build a base for the house, your dog will be cold in winter and hot in summer.
At the same time, think about the factors that can influence the quality of the base. Do you live in a rainy area? Is the material you are using water-resistant and non-toxic? Is it high enough so as not to get flooded?

2. Cut the Material
For this project, you will need to get some 2×4 wood boards. Next, cut them into four pieces. Two of them need to be 22 – ½” long, while the other two 23” long. These measurements suit a medium-sized dog. If you think your dog is bigger and needs more space, you’re free to adjust the size accordingly.
3. Set Up the Pieces
Put the 23” side pieces in the 22 – ½“ front and back ones. The result will be a rectangle that rests on the ground with the 2” side. Now, you need to take a countersink drill bit and pre-drill the pilot holes. Next, set up all the pieces together with 3” galvanized wood screws.
4. Make the Floor Plans
For the frame we mentioned above, the dimensions for the floor should be 26” by 22 – ½”. However, if you want to use different measurements, feel free to change this as well. After you decide on the floor plans, you need to take a pencil and a framing square and transfer the plans to the plywood. Get one sheet of ¾” plywood and use it for this step.
5. Attach the Floor
With the help of galvanized wood screws that measure 1 – ¼”, attach the floor panel to the base. Drill one screw into each corner.
Putting Up the Walls
6. Get Quality Wood
If you want to know how to build a dog house that offers the best conditions, you should get some real wood. It adds to the insulation, as well as the versatility of the doghouse, even if you’re using thin wood. For the house to retain even more heat, try to keep the opening for the dogs as small as you can while keeping it comfortable for them. Alternatively, you can use some tips on how to waterproof wood furniture for outdoors to treat the material.
7. Transfer the Plans
The standard measurements are the following:
- Sides – 26×16” each;
- Front and back – 24×26” rectangle;
- Triangles on top of the rectangles – 12×24”.
The triangles and rectangles should be cut together, so transfer them as they are on the plywood you used earlier.
8. Allow for an Opening
The opening should measure 10×13” and should be placed on the front wall. At its bottom, you should leave a 3” tall space to cover the base. You will also need to create an arch at the top of the opening. For this, use any round object you have around (a mixing bowl might come in handy here).
9. Cut Corner and Roof Framing Pieces
Take a 2×2 piece of cedar or fir wood and cut out corner and roof framing pieces. The corner ones need to be 15” long, while the roof ones 13”. Make four of each.
10. Attach the Corner Framing Pieces
With the help of 1 – ¼” galvanized wood screws, add one corner framing piece to the side frames, on each of the edges. Next, add the side panels to the base. Once again, use galvanized wood screws for every 4 – 5 inches on the perimeter.
11. Put the Front and Back
Put the front and back panels on the base and attach them to the framing similar to the earlier step.
Building the Roof
12. Build a Triangular Roof
An important part of knowing how to build a dog house that protects your pet is to have a triangular, sloping roof. This will enable snow and rain to slide off the house. Moreover, the dog will have plenty of space to stretch inside.
13. Draw the Plan
Get a 2×2 piece of wood and draw the plan for the roof panels. They should measure 20×32”. They will be resting on the side panels to form the triangle above.
14. Attach the Roof Framing Piece
Remember the roof framing pieces you cut earlier? Now it’s time to add them to the inside of the front and back panels. Place them halfway between the ends of the angled side on each panel. Again, use 1 – ¼” galvanized wood screws for each panel.
15. Place the Roof Panels
Put the roof panels on the sides. Ensure that the peak is tight and that the panels hang over each of the sides. Secure them to the framing pieces you attached previously with 1 – ¼” wood screws. Place the screws 3” apart.
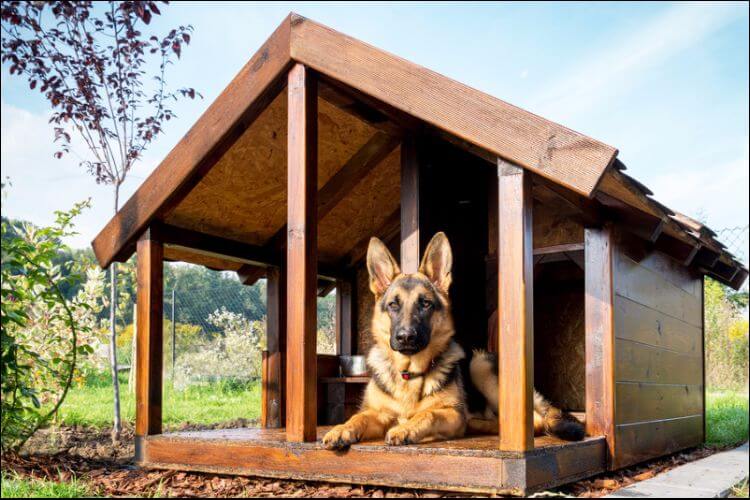
Customizing the Dog House
16. Add Paint
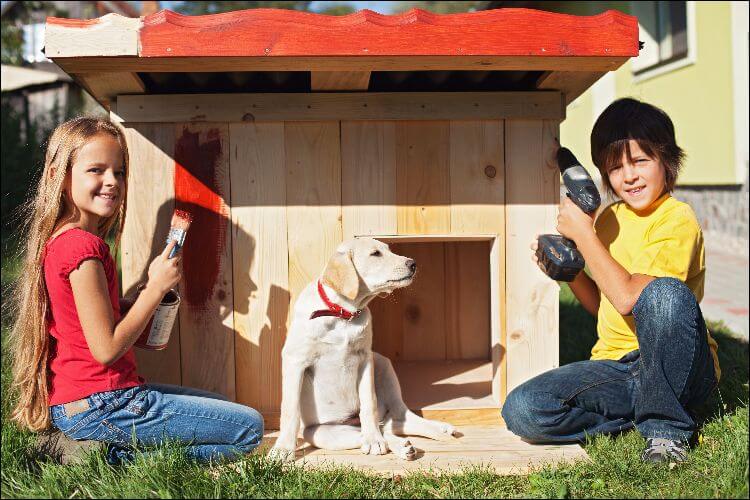
Now that you know how to build a dog house by yourself, it’s time to learn how to customize it as well. The easiest way to do this is to add paint. It’s important to choose non-toxic paints that don’t harm the dog. You can match the dog’s house to your own or set a theme for it. If you have children, ask for their help with this, they will surely enjoy it.
17. Strengthen the Roof
If you feel that the roof isn’t sturdy enough, you can add some tar or asphalt-impregnated paper on it. Add shingles as well for an extra effect.
18. Add Some Furnishing and Accessories
Knowing how to build a dog house that is perfect for your dog also includes adding the right furnishing on the inside. Keep the pet comfy and bring it a dog bed, a blanket or some carpet. Besides, some accessories will make the house even more fun. Add a nameplate to the front of the opening, for example. Alternatively, you can also add some small hooks on the outside if you want to keep the leash or other toys close to the house.
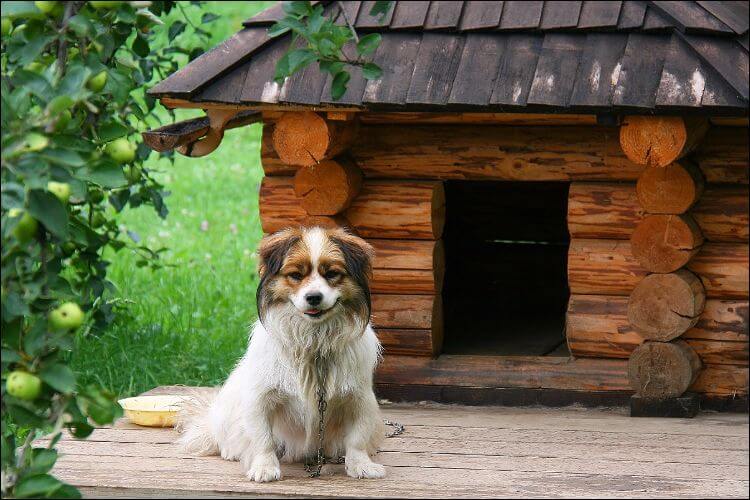
19. Make It a Luxury Home
If you’re willing to splurge on this project after you learned how to build a dog house, it’s a good idea to make it a luxury home. Let’s have a look at a couple of suggestions for luxury versions:
- Victorian Dog House – Though it is a very complex project, it’s worth it if you have several dogs. Add a Victorian design with intricate details and classy colors. You can even add a wrought-iron fence around it.
- Spa Area – If learning how to build a dog house isn’t enough for you, you can learn how to create a spa area for your friend as well. An inflatable pool or a mud puddle can be great sources of fun for the pet.
- Traveling Home – Why shouldn’t your dog enjoy a trailer of his own? Even if they won’t go anywhere (unless they own a driving license), it’s an original idea to design their dog house like this.
- Ranch Home – Choose a ranch design for your dog house if you’re looking for a more American look. You can complete it with a wood garden bench, in case you want to join your dog for an afternoon spent together on the porch.
Naturally, if you’re going extra, this will also boost the time and money you spend on this project.
Conclusion
It’s not hard to learn how to build a dog house, especially if you only want to offer the best to your pet. What we presented above is a simple plan that won’t cost you a lot. However, for those who want to go extra, there are plenty of ideas to convert it into a luxury house, for instance. The best thing is that you can customize it as you wish and you can even let the dog choose the decorations!
Post time: Aug-31-2021
